

Steering Wheel retrim quality: A buyers guide
How to spot a good steering wheel retrim
By Steve Palmer, EDGE Automotive – trimming steering wheels since 2010 Last reviewed: August 2026
Judging steering wheel retrim quality from a website is close to impossible if you don’t know what to look out for. Every trimmer’s site says roughly the same thing. Premium materials. Experienced craftsmen. OEM standards. Attention to detail.
None of it is checkable. You’re looking at photographs of finished wheels, and a finished wheel looks like a finished wheel. So most people end up choosing on price, or on whoever came up first, or whoever got recommended in a forum thread.
I’ve been trimming wheels since 2010, and there are five things I look at when I see someone else’s work. None of them are difficult to spot once you know they exist. All of them are visible in photographs, which means you can apply them to any trimmer’s portfolio before you send your wheel anywhere.
Including mine. That’s rather the point, if I’m going to tell you what good looks like you should be able to hold my work to it.
First, when a cheap retrim is the right call
If the car is a runabout you’re selling in six months, or a daily hack you don’t much care about, a budget retrim is a perfectly sensible decision. It’ll look fine. Don’t let anyone talk you into spending more than the car warrants.
What follows matters when you’re keeping the car, when you’re chasing a specific factory spec, or simply because the steering wheel is the one part of the interior you have your hands on every single time you drive.
That’s the honest version. Now the five things.
1. Was the original leather actually removed?
Start with what this isn’t. A thicker rim on its own tells you nothing. Plenty of people ask me to build a wheel up, and it’s a good modification. The question isn’t whether the wheel is thicker. It’s what’s making it thicker.
Done properly, thickening means stripping the original covering off and building the rim back up with purpose-fit foam. Done quickly, it means leaving the old leather where it is and trimming straight over the top. Both produce a thicker wheel. Only one of them was designed.
What goes wrong when the old covering stays on.
The most common thing is telegraphing. The original stitch line prints through the new material as a visible ridge running around the rim. Old material doesn’t vanish under new material, you can see it, once you know to look.
Then there’s the one that doesn’t show up for months.
A wheel came to me that had been covered in Alcantara straight over the original perforated leather. Alcantara breathes. Dirt worked its way down into the perforation holes underneath, and over time it came through to the surface. The wheel developed a faint pattern of dots from the perforations below, printing through the material above.
Nobody buying a retrim could reasonably have predicted that. The wheel looked perfect the day it came back.
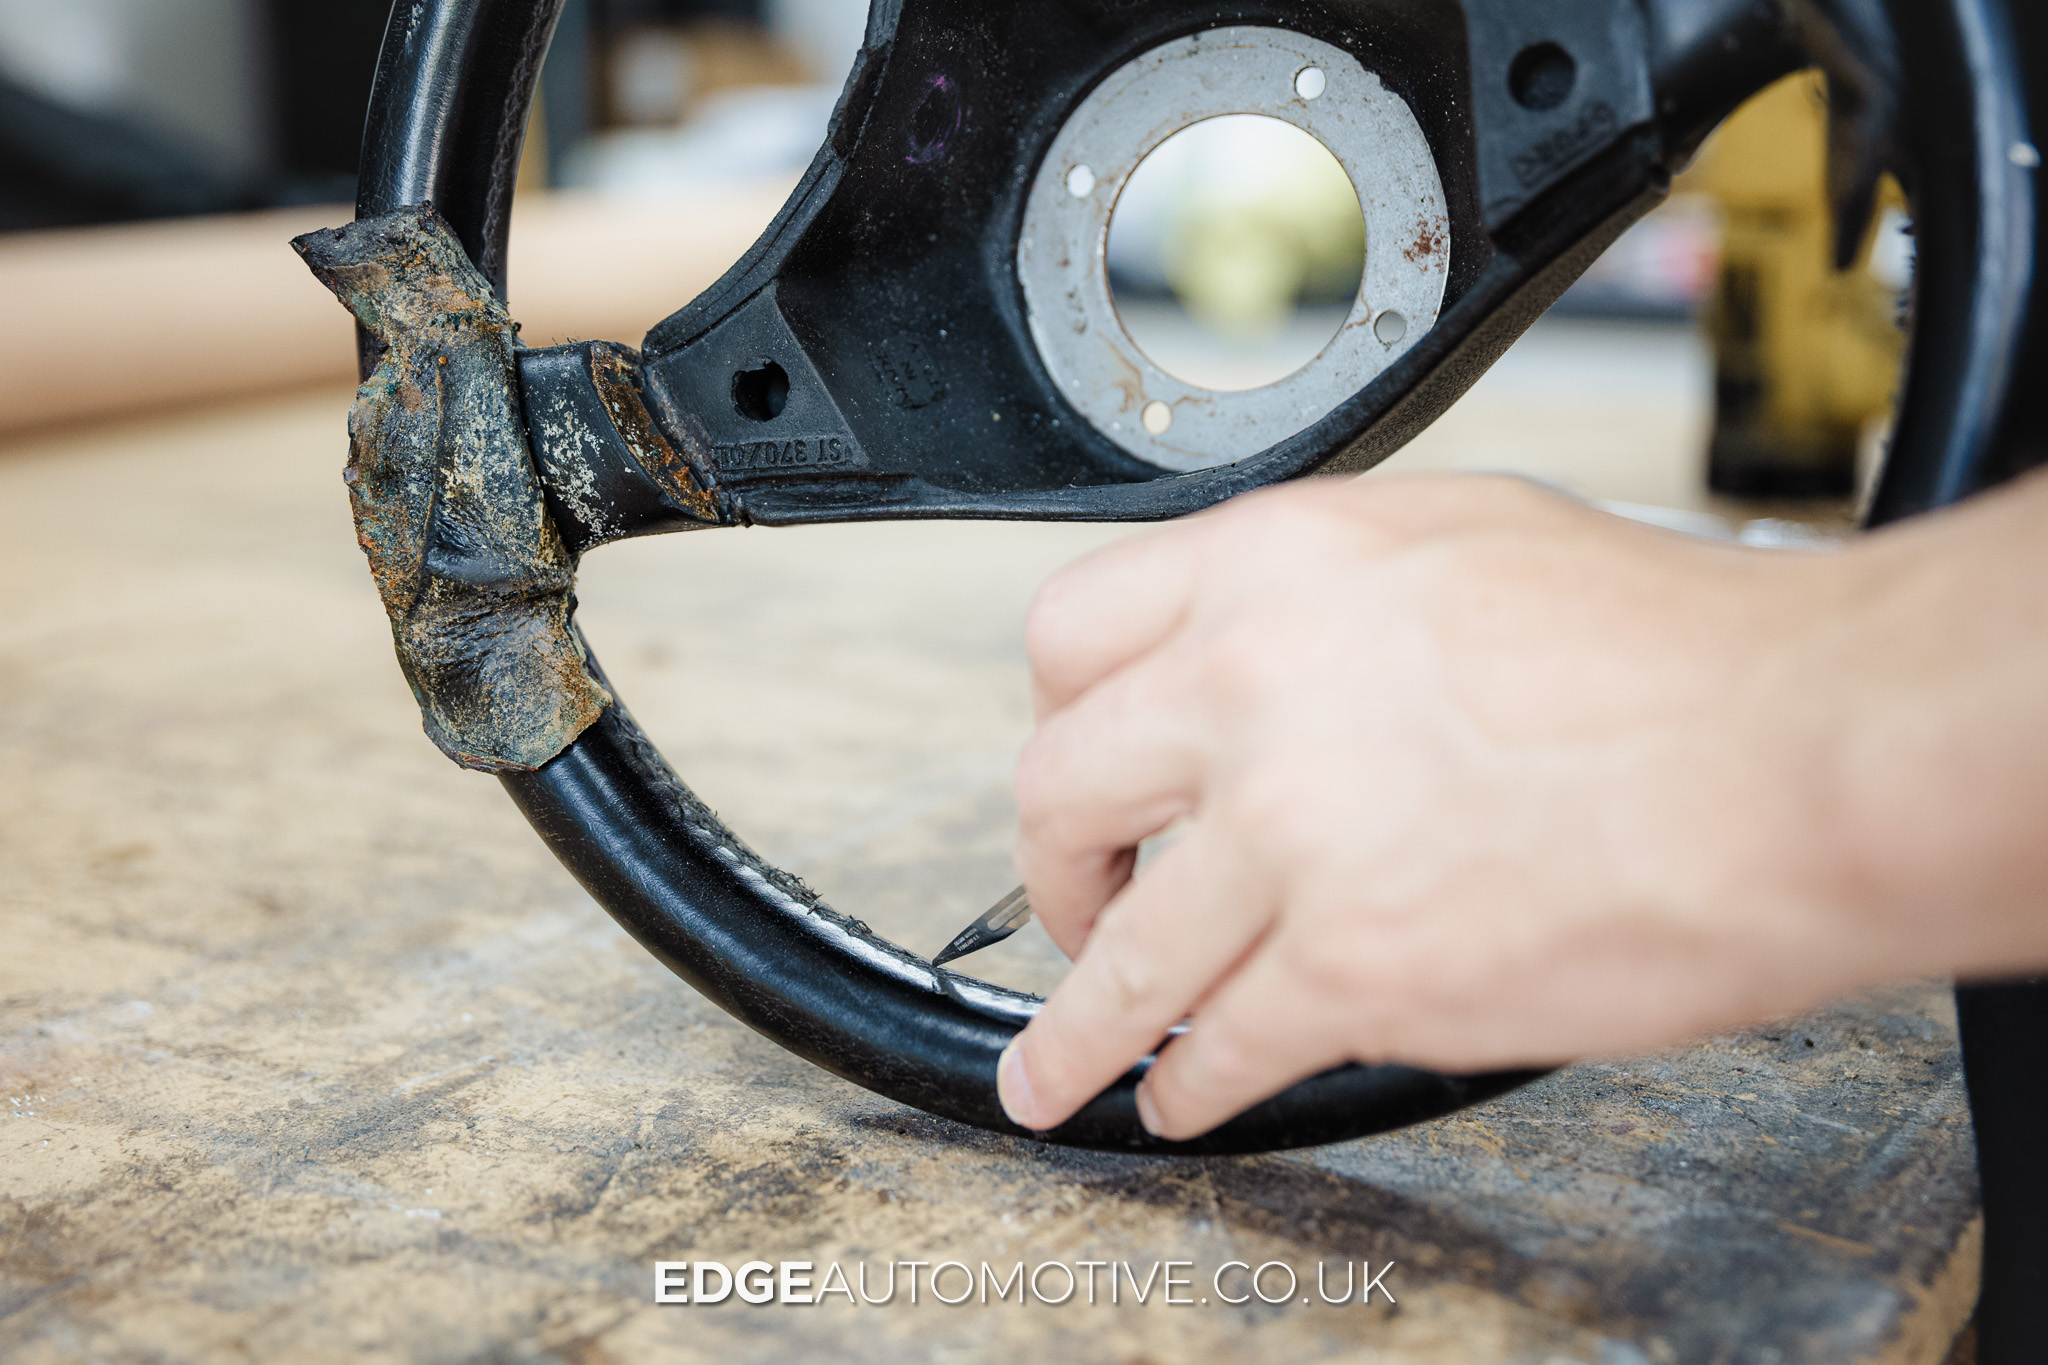
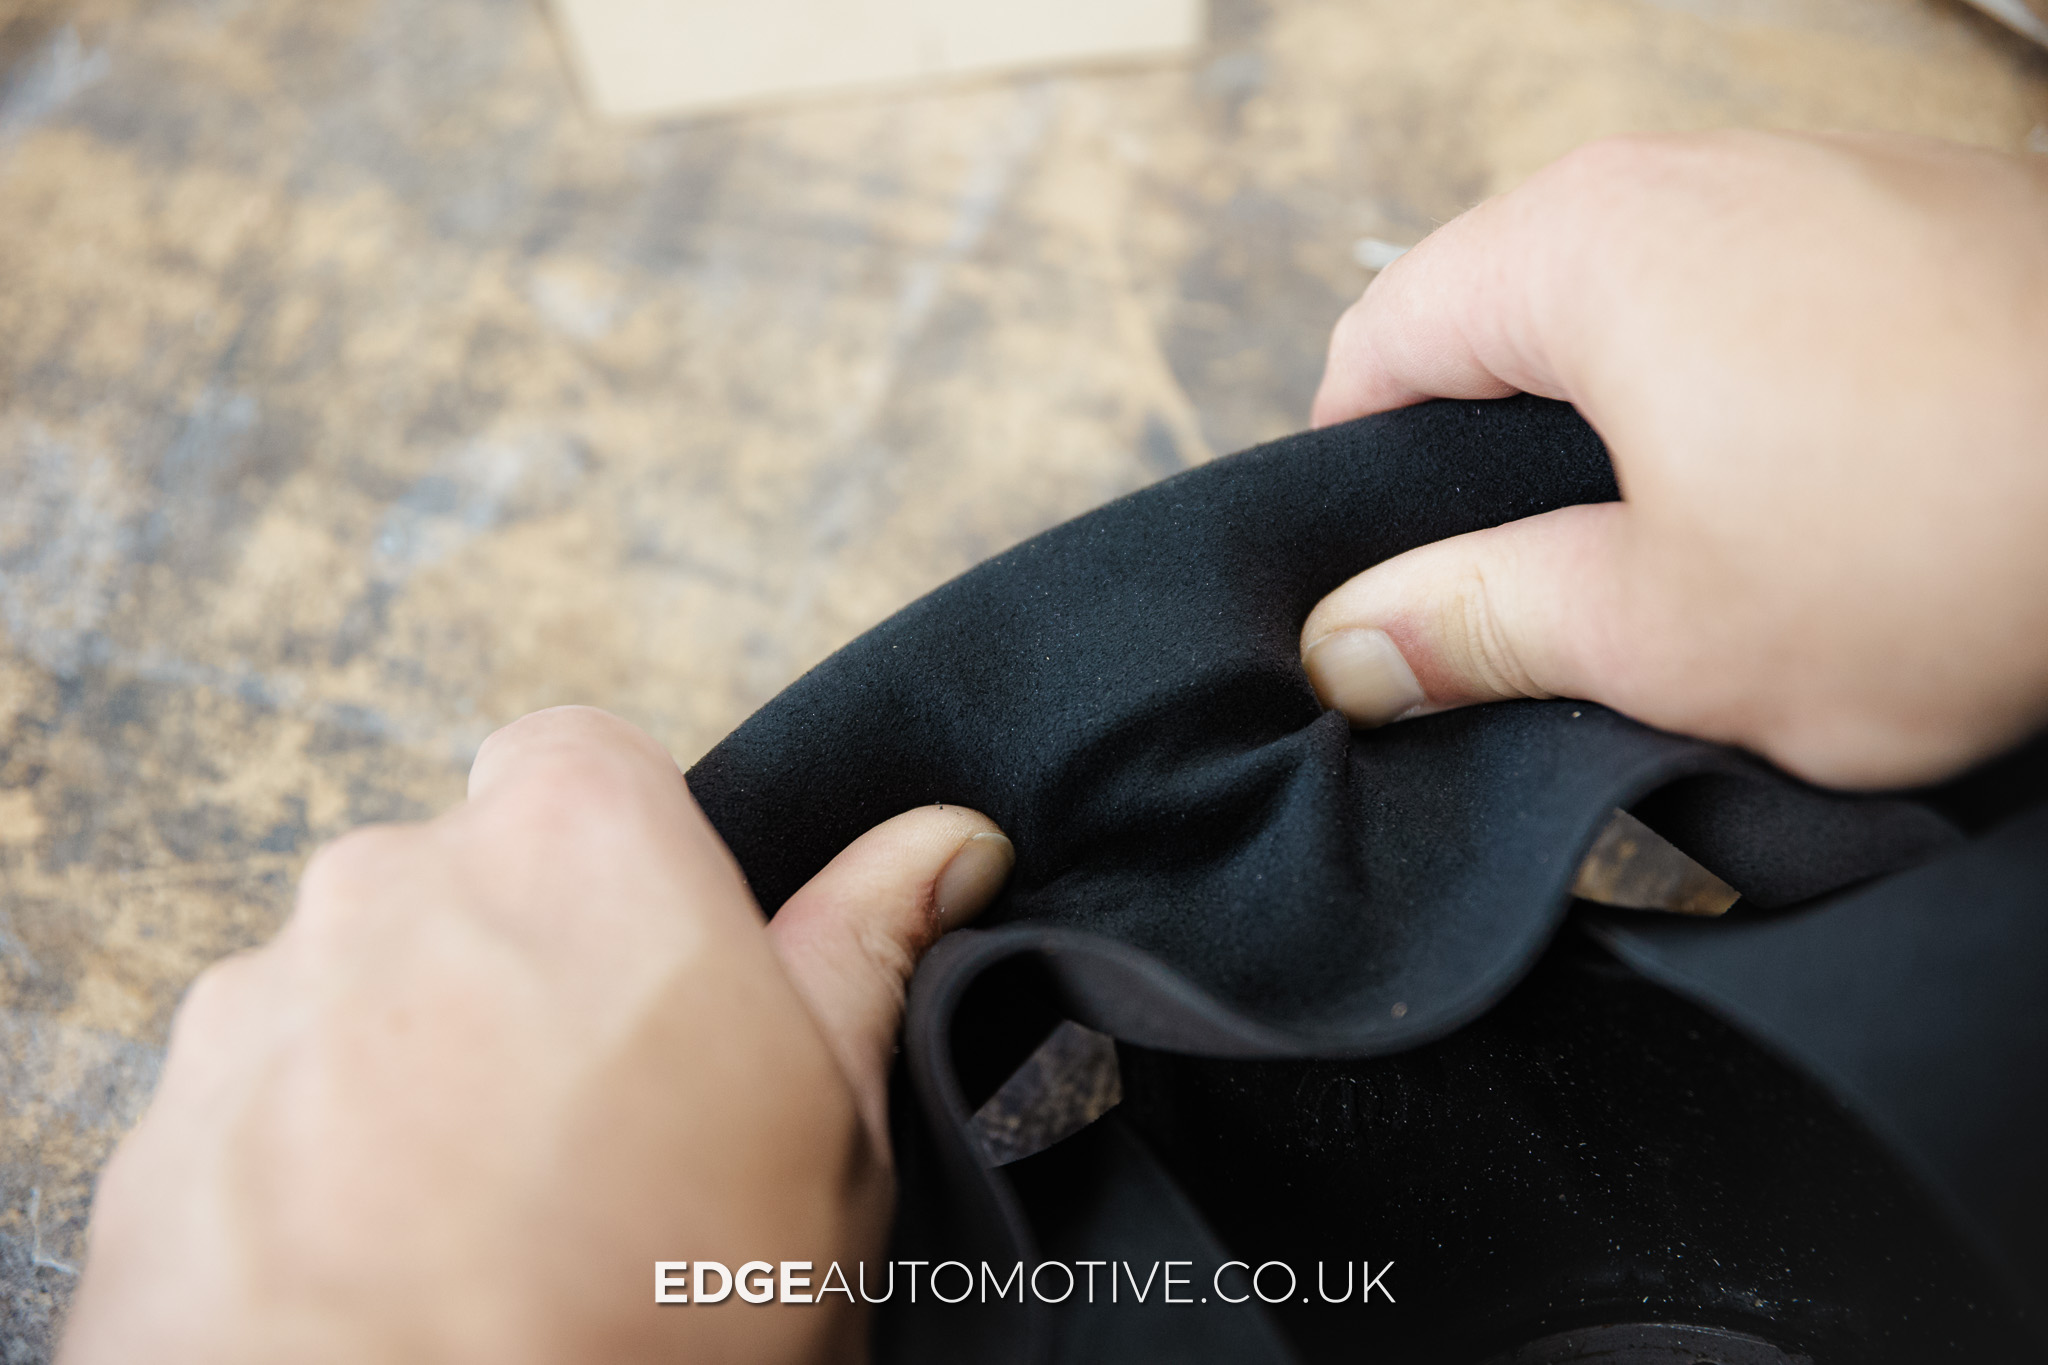
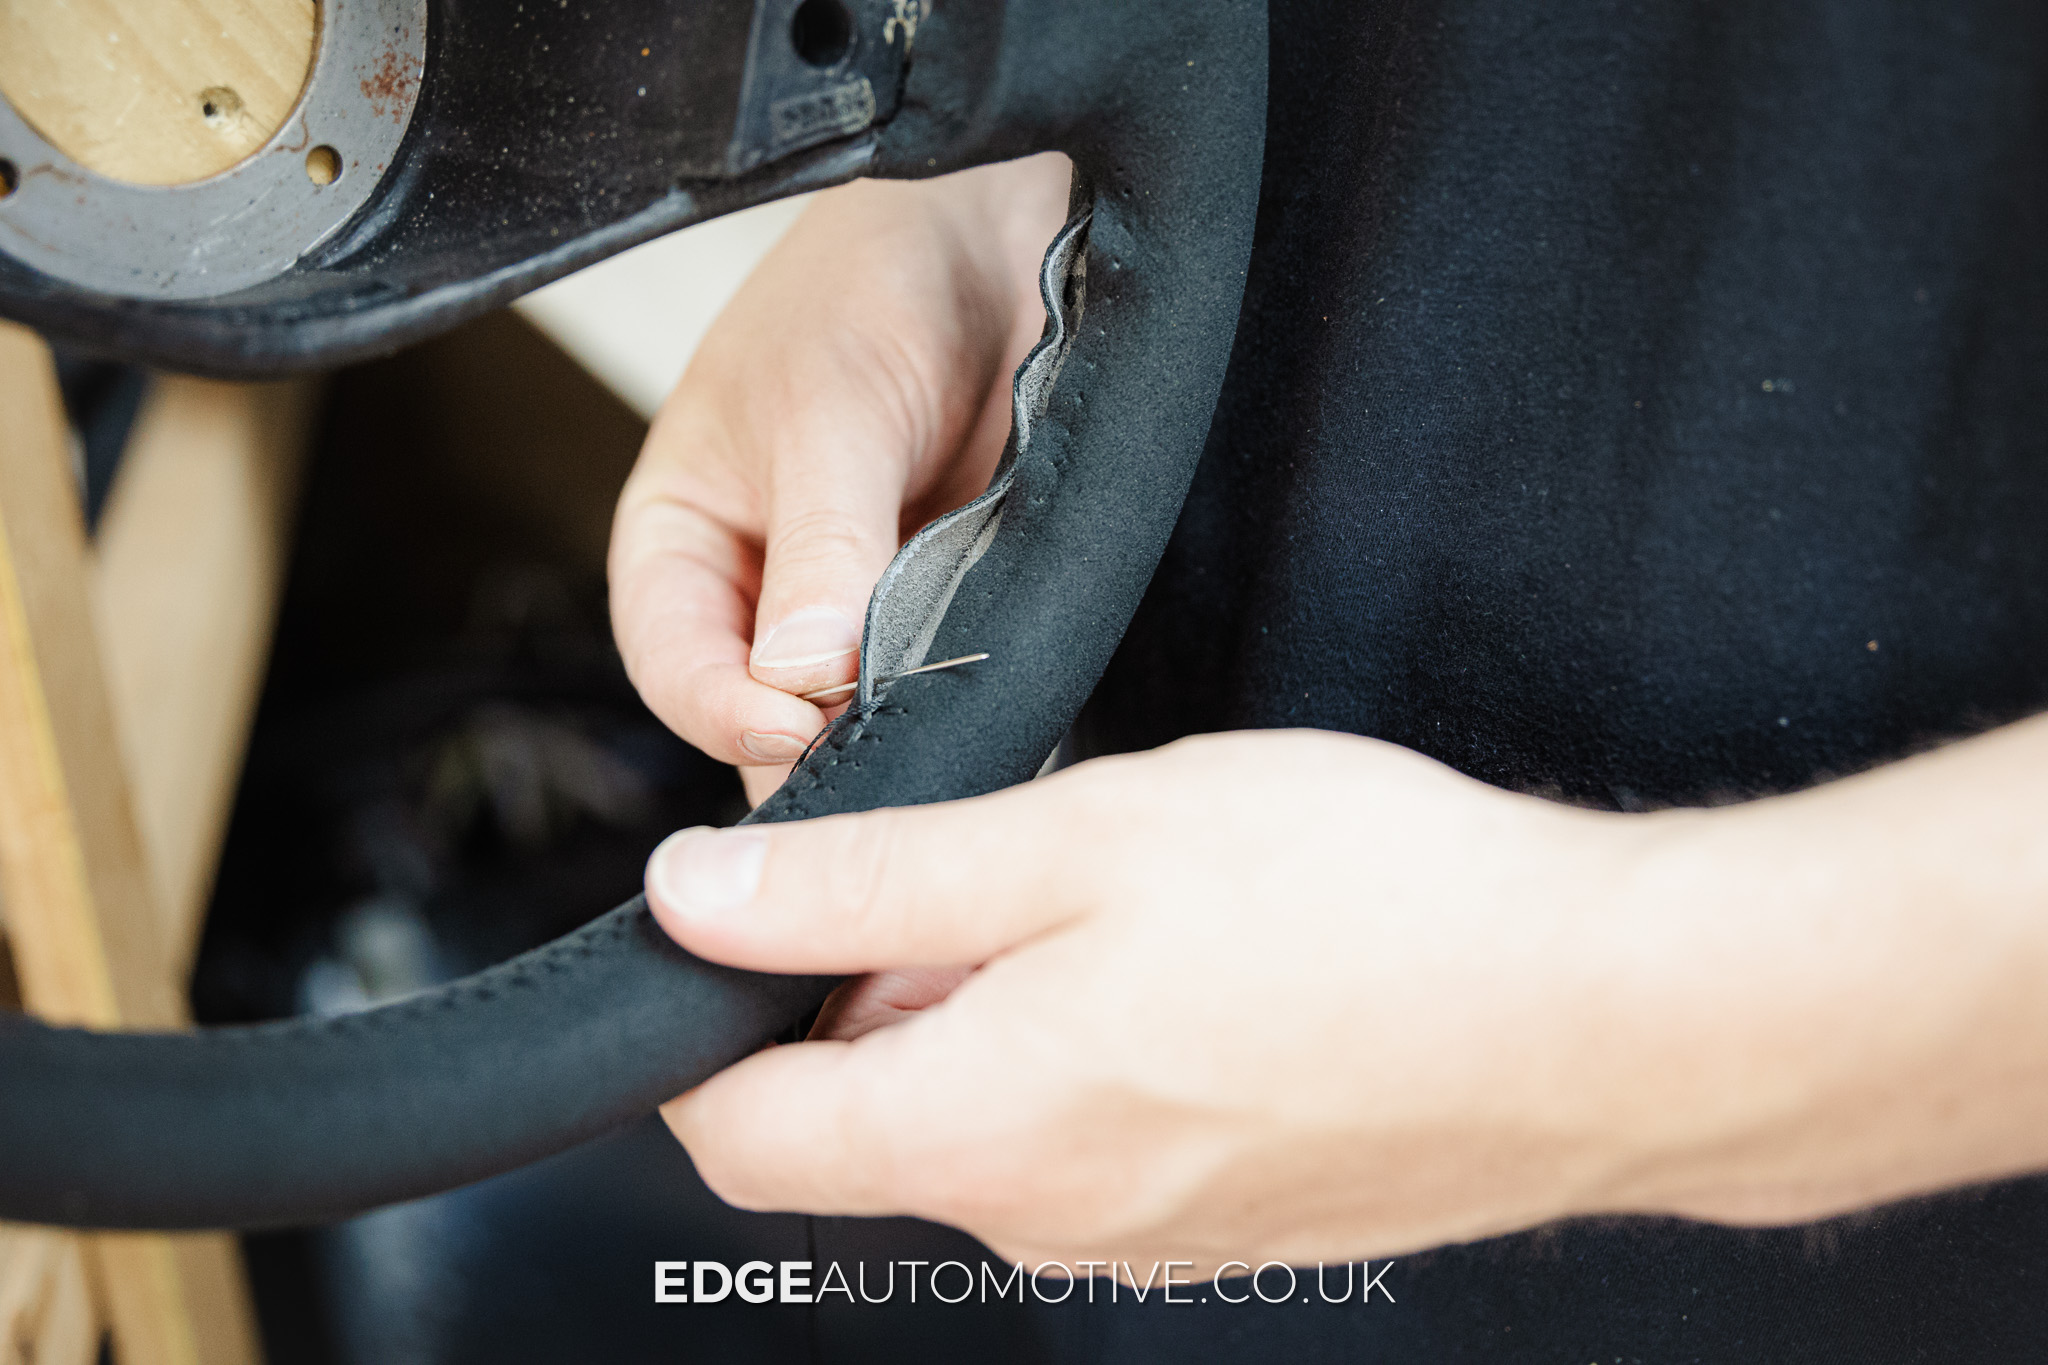
The one time trimming over is right. Some heated wheels have the element bonded in so that removing the original covering risks damaging it. In that case, trimming over is the correct call and I’ll do it. But it’s a decision I make after checking, not a default. On a large majority of wheels, removal is entirely possible. It’s what I do on every steering wheel retrim that comes in.
How to check: ask directly. Will the original covering be removed? If not, why not? And if you want the wheel thicker, ask what it’s being built up with. A good high density, high impact foam is the answer you want.
2. Is the 12 o’clock band actually centred?
This one sounds trivial until you live with it.
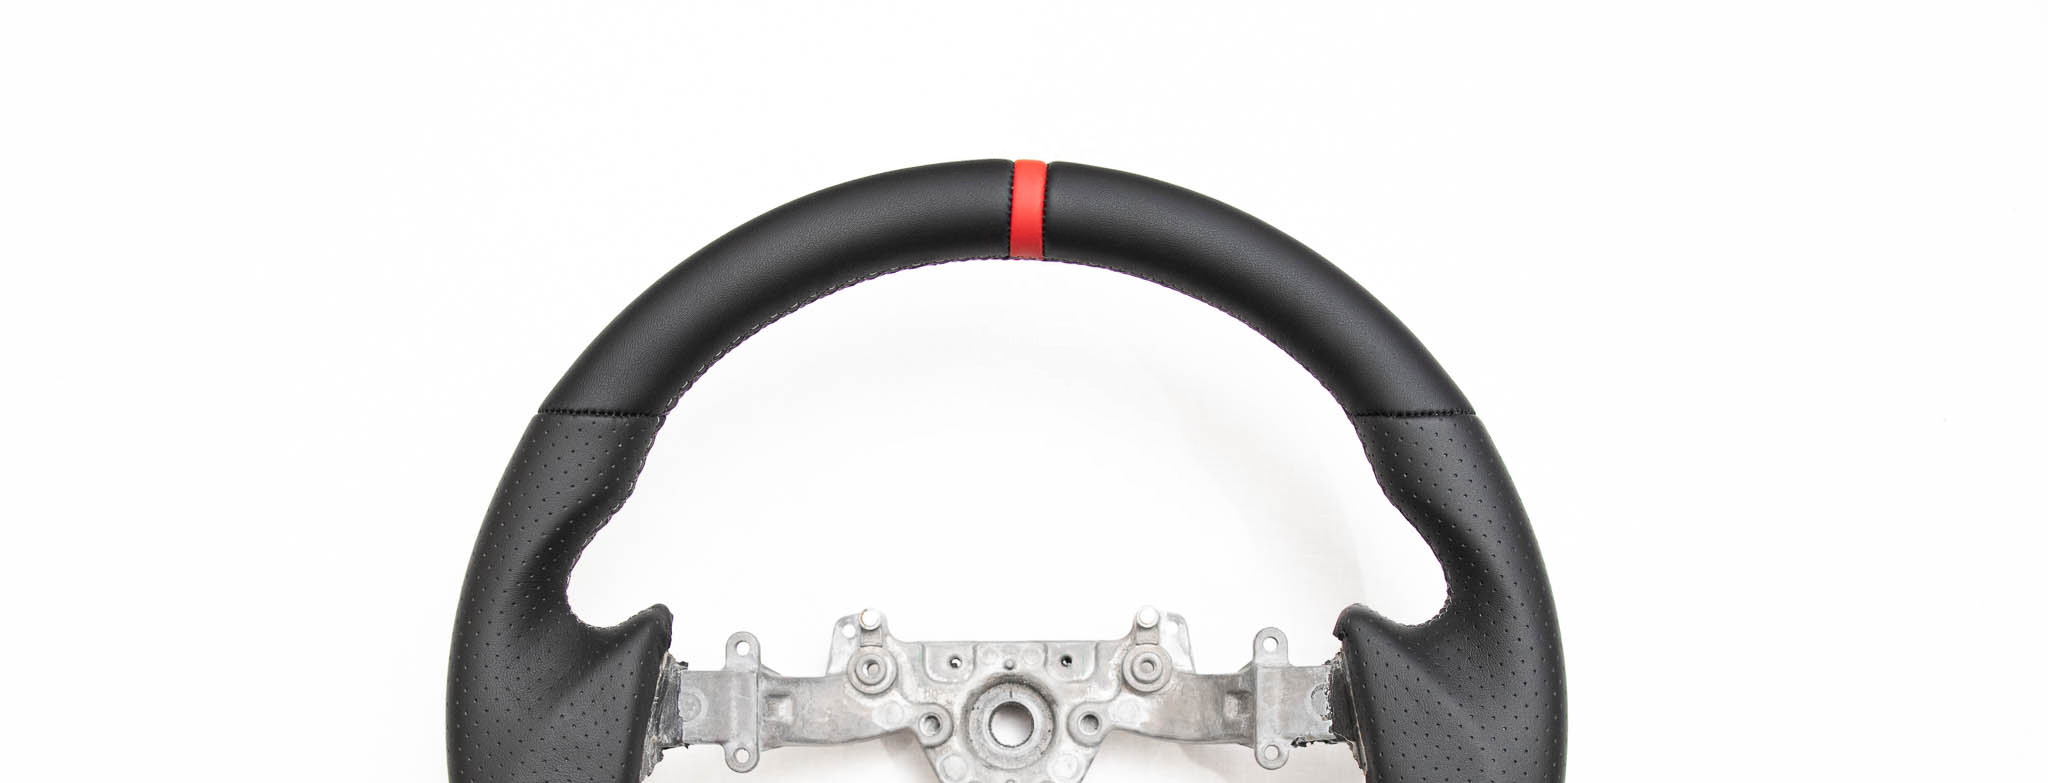
The 12 o’clock band sits dead ahead in your eyeline, every time you drive. If it’s off, you will notice it, and you won’t stop noticing it. It’s the flaw people contact me about most often after the fact.
Checking it is easy. The spokes are symmetrical, so measure the band against them. It either lines up or it doesn’t.
A wheel came to me once with a band 10mm off centre. The owner had raised it with whoever did the work and been told it was within spec. He sent it back. It came back the same. Then it came to me, and I rectified it.
10mm is a long way out. The band itself is only 10mm wide, so it was sitting a full band’s width off centre.
I mention it for one reason: fixing it wasn’t difficult. It’s a measuring job, not a skill barrier. Which means when it’s wrong, it’s because nobody took care when measuring and 10mm is a long way from centre on something you look at for hours a week.

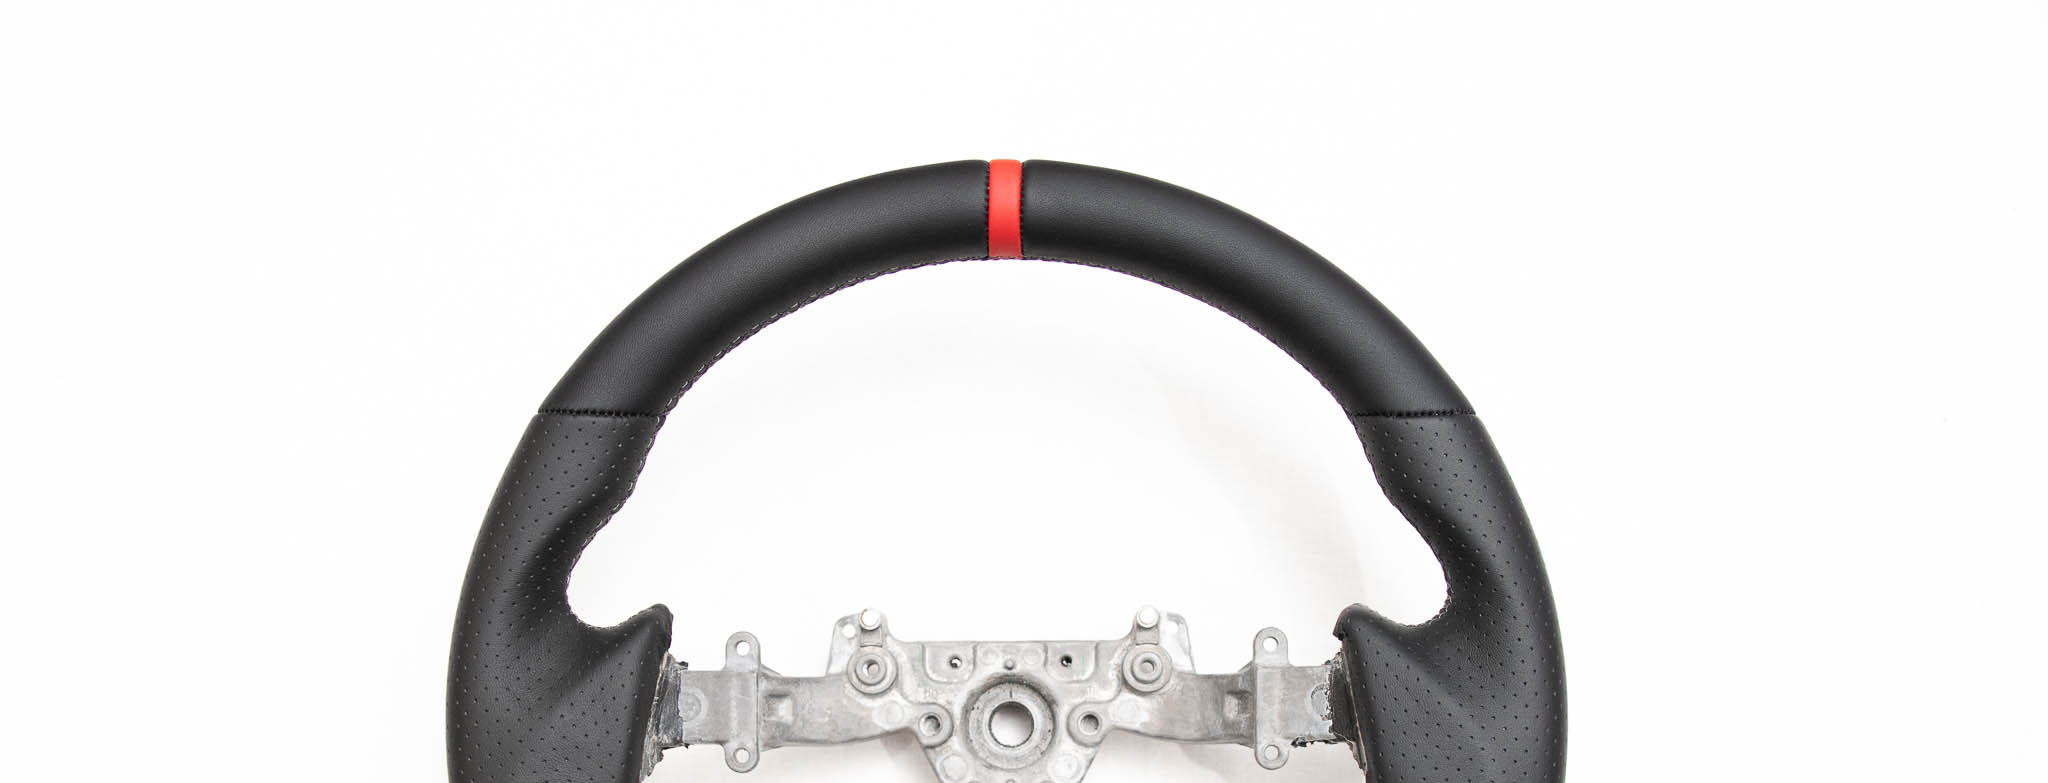
3. Is the band the same width all the way round?
A more subtle one and most people can’t see it until it’s pointed out.
The band should be a parallel strip. What you often get instead is a wedge, wider at the top of the wheel, tapering as it comes down. It happens with a misunderstanding in the stretch of the material and how to correct the pattern for it.
Here’s how to check it in a photograph. Look at the two lines where the band meets the leather, one on each side. They should run parallel. If they converge as they come down the wheel, you’re looking at a wedge.
Once you’ve seen one you’ll never unsee it.
CORRECT
The band edges run parallel

WEDGE
The band edges converge

4. Is it the right stitch for the car?
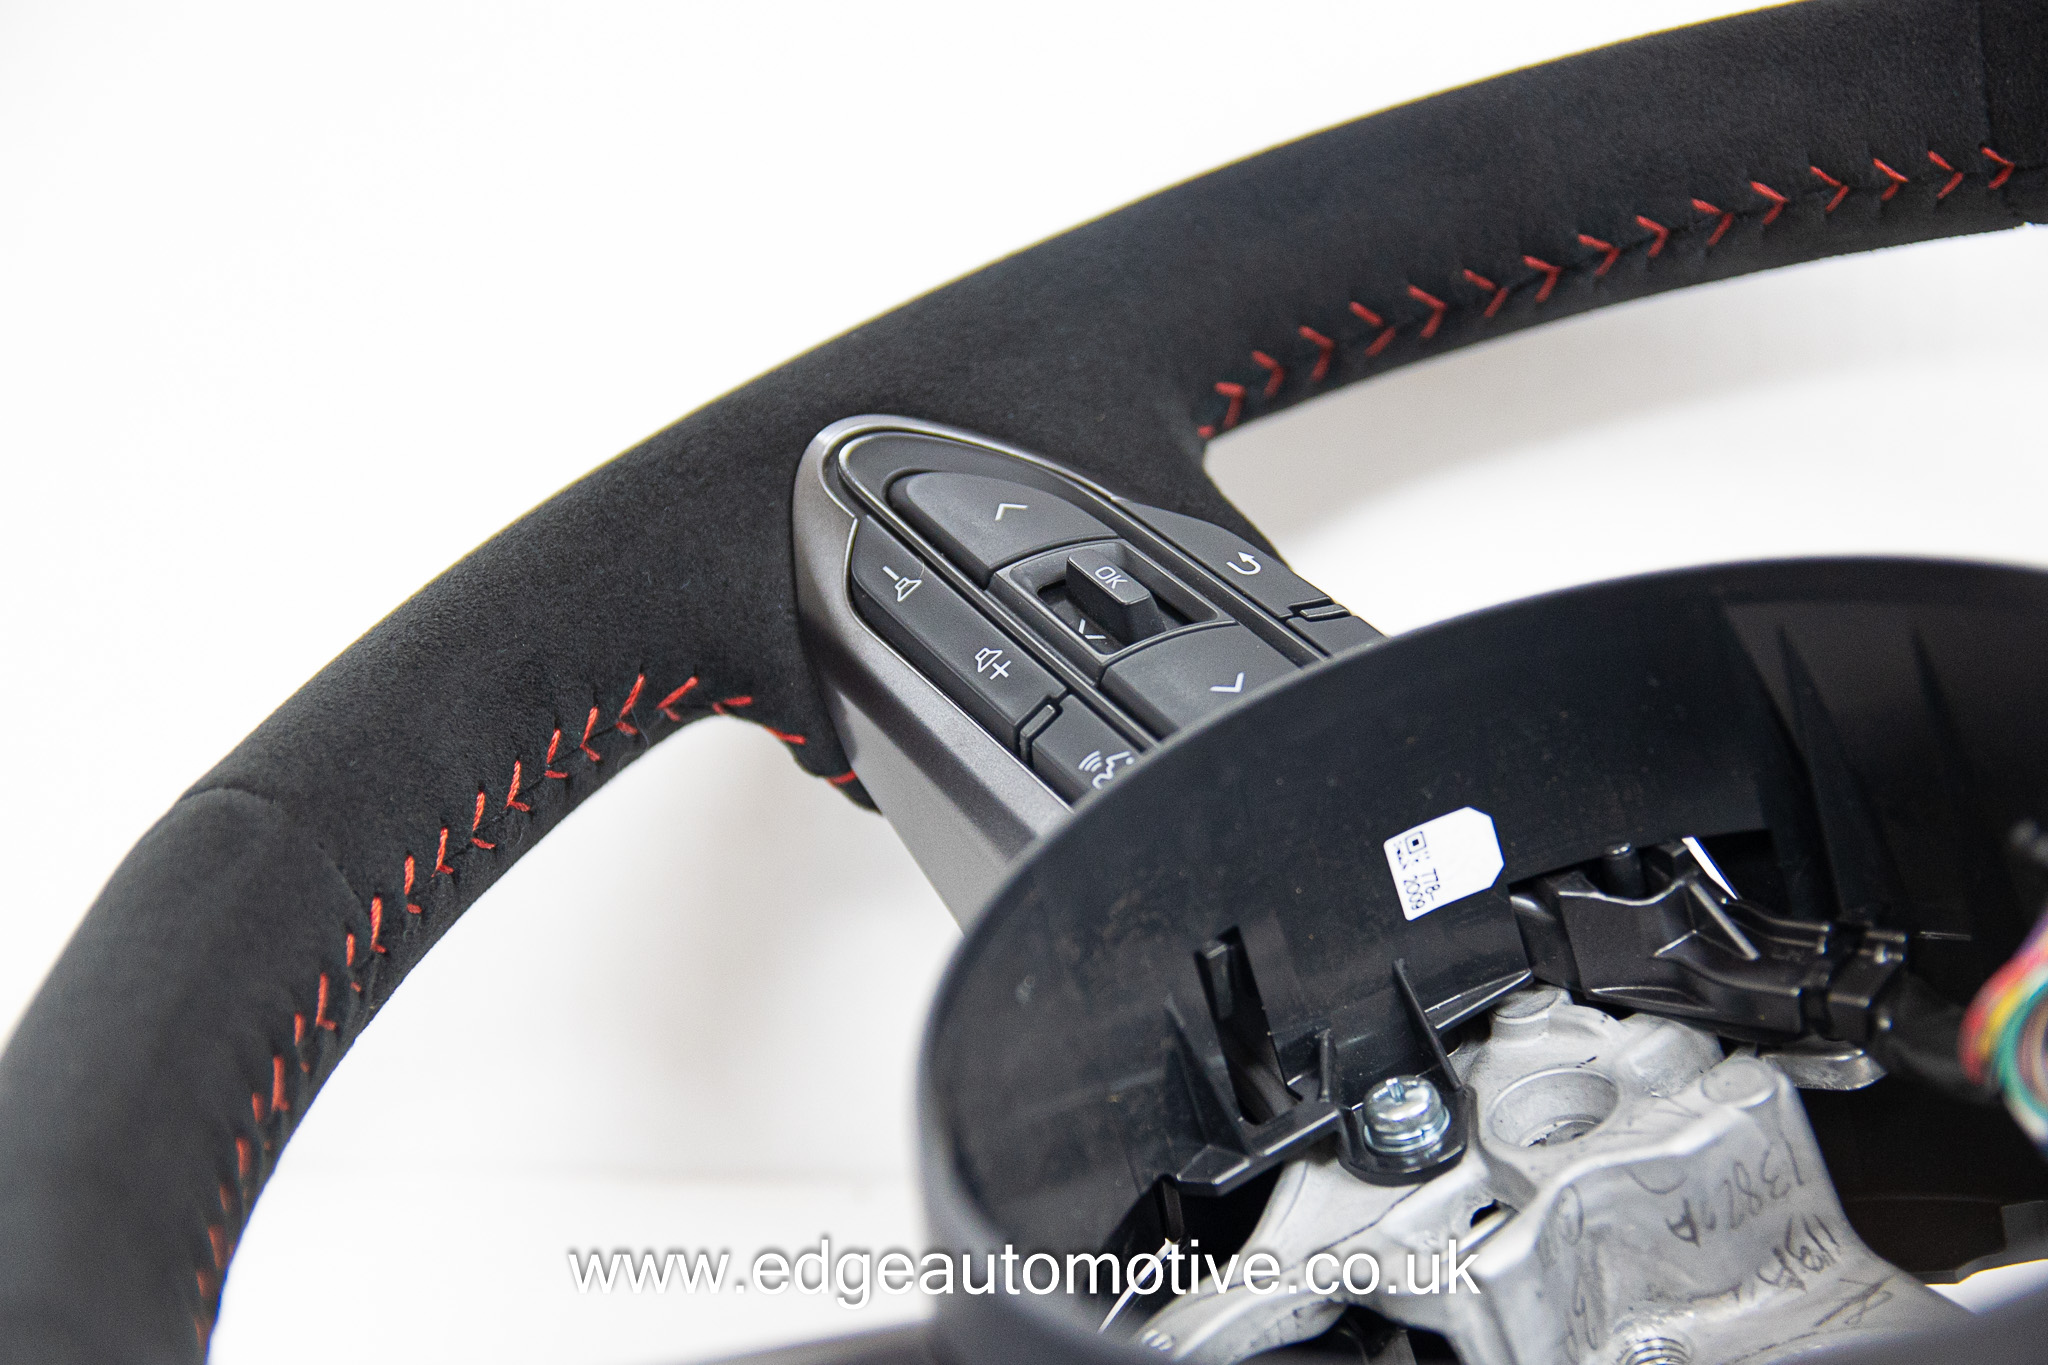
Let me be clear first: there’s nothing wrong with a euro stitch. It’s the correct choice on plenty of cars and a perfectly good choice for anyone who likes the look of it.
The problem is when it turns up instead of something else, without being mentioned.
The euro stitch is quick and straightforward to execute. That makes it the default when nobody asked the question. And on a wheel being sold as a specific factory spec, that matters, the ‘GRMN’ GR Yaris wheel uses a chevron stitch, and I’ve seen wheels trimmed and sold as ‘GRMN’ spec with a euro stitch on them. That isn’t the spec. It’s the faster stitch wearing the spec’s name.
If you’re paying for a particular look, you should get that look.
How to check: Ask which stitch will be used, and whether it’s what the car came with. If not, why the change? Any trimmer worth using will have an opinion about your specific wheel. If the question has never come up, it’s already been answered for you.
5. Does the stitch run straight?

The stitch should be consistent the whole way round with even spacing, even tension, and a line that stays where it should.
What you sometimes see instead is a wavy stitch line, wandering rather than running true. That usually isn’t a sewing problem. It’s a sizing problem. If the cover is cut slightly too big or slightly too small, the stitch line ends up taking up the difference, and it shows as waviness however carefully it was sewn.
This is the easiest of the five to check in a photograph. You don’t need to know what the factory spec was or measure anything against the spokes. Look along the stitch line and see whether it runs straight.
Some questions before you book
Will the original leather be removed, or trimmed over? If over, why?
How do you set the position of the 12 o’clock band?
Which stitch will you use, and is that what this car came with?
Can I see another wheel of this exact model that you’ve done?
The short version
If you want to see how I do it, my steering wheel retrim service page has the pricing, the process, and a fair few wheels’ worth of examples.
Pricing across the trade doesn’t vary enormously. What varies is how many hours went into the wheel, stripping it properly, measuring the band, cutting to a template, executing the right stitch. Every one of the five things above is a place where an hour can be saved.
The five checks are just a way of seeing where those hours went.
If you’ve got a wheel you’re thinking about and you want a second opinion on your own car or on work you’ve had done elsewhere, send me a photo. I’m happy to tell you what I see.